When it comes to high-quality sound and sleek, unobtrusive design, the Polk In-Ceiling Speaker stands out as a top choice for audiophiles and casual listeners alike. Whether you are looking to upgrade your home theater system, enhance your living room’s sound, or create an immersive audio environment in any room of your house, Polk in-ceiling speakers offer a perfect blend of performance and aesthetic appeal. This comprehensive guide will explore the benefits, features, installation process, and maintenance tips for Polk in-ceiling speakers, helping you make an informed decision.
Why Choose Polk In-Ceiling Speaker?
Polk in-ceiling speakers are designed to provide exceptional audio quality without compromising on space or style. Here’s why investing in Polk in-ceiling speakers is a smart choice:
1. Superior Sound Quality
Polk in-ceiling speakers deliver high-fidelity sound with deep bass, clear midrange, and crisp highs. The speakers are engineered with advanced audio technologies to ensure a balanced and immersive listening experience.
2. Space-Saving Design
One of the main advantages of in-ceiling speakers is their ability to blend seamlessly into any room. Polk in-ceiling speakers are flush-mounted, making them virtually invisible and perfect for maintaining a clean and uncluttered look.
Read too: Discovering the Charm of Nautical Outdoor Ceiling Fans for Your Coastal Retreat: Sail into Style
3. Versatile Applications
Whether you want to enhance your home theater, install a multi-room audio system, or add background music to your kitchen or bathroom, Polk in-ceiling speakers are versatile enough to meet all your audio needs.
4. Durability and Reliability
Polk is known for its high-quality and durable audio products. Polk in-ceiling speakers are built to last, with materials and construction designed to withstand the rigors of installation and long-term use.
5. Easy Integration
Polk in-ceiling speakers are compatible with a wide range of audio systems and can be easily integrated into your existing setup. They work well with both wired and wireless audio systems, offering flexibility in installation and use.
Key Features of Polk In-Ceiling Speaker
When choosing Polk in-ceiling speakers, it’s important to consider the features that will best suit your audio needs. Here are some key features to look for:
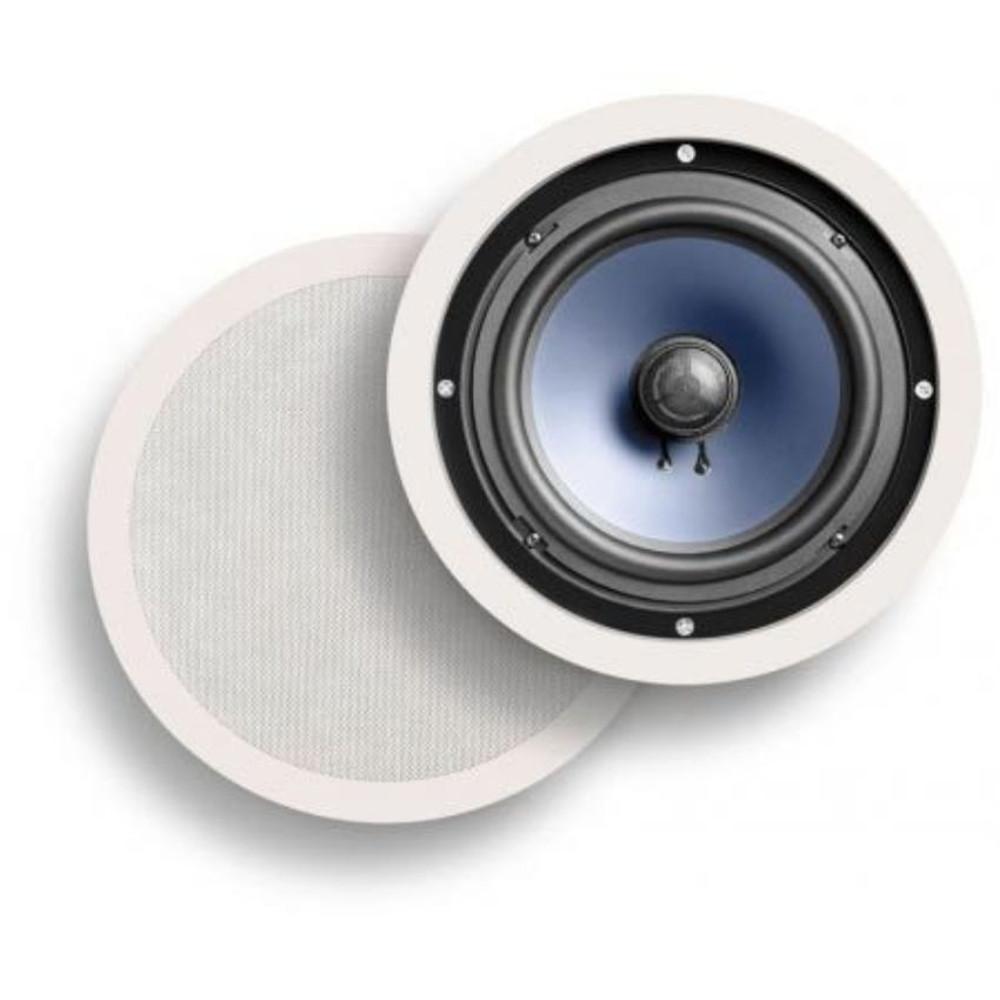
1. Tweeter and Woofer Configuration
Polk in-ceiling speakers typically feature a combination of tweeters and woofers to deliver a full range of sound. Look for models with adjustable tweeters to direct high frequencies toward the listening area for optimal sound.
2. Power Handling and Sensitivity
Check the power handling and sensitivity ratings of the speakers to ensure they can handle the output from your amplifier or receiver. Higher sensitivity ratings mean the speakers can produce louder sound with less power.
3. Frequency Response
The frequency response range indicates the range of sound frequencies the speakers can reproduce. A wider frequency response range ensures better sound quality, covering both deep bass and high treble frequencies.
4. Weather Resistance
If you plan to install the speakers in a humid environment like a bathroom or kitchen, or even outdoors, look for models that offer weather-resistant features to ensure longevity and performance.
5. Grille Design
Polk in-ceiling speakers come with paintable grilles that can be customized to match your ceiling color, making them virtually disappear into the ceiling. This feature enhances the aesthetic appeal of your room.
How to Install Polk In-Ceiling Speaker
Installing Polk in-ceiling speakers can be a straightforward process if you follow the right steps. Here’s a general guide to help you through the installation:
1. Gather Your Tools and Materials
Before you start, make sure you have all the necessary tools and materials. This typically includes a ladder, screwdriver, wire stripper, drill, and a template for cutting the speaker holes.
2. Choose the Location
Select the optimal location for your in-ceiling speakers. Consider the layout of the room, seating positions, and any potential obstructions. Use a stud finder to ensure there are no joists or pipes in the chosen location.
3. Cut the Speaker Holes
Use the provided template to mark the locations for the speaker holes on the ceiling. Carefully cut the holes using a drywall saw or a hole saw. Make sure the holes are the right size to fit the speakers.
4. Run the Speaker Wires
Run the speaker wires from your audio system to the speaker locations. If you’re running wires through walls or ceilings, use fish tape to guide the wires and ensure a clean installation. Label the wires for easy identification.
5. Connect the Wires
Connect the speaker wires to the terminals on the back of the Polk in-ceiling speakers. Ensure the positive and negative terminals are correctly matched to prevent any phase issues.
6. Mount the Speakers
Carefully insert the speakers into the holes and secure them using the mounting clips or screws provided. Make sure the speakers are flush with the ceiling and securely fastened.
7. Attach the Grilles
Attach the grilles to the speakers. If you plan to paint the grilles, do so before attaching them to avoid getting paint on the speaker components.
8. Test the Speakers
Once everything is in place, test the speakers to ensure they are working correctly. Adjust the positioning of the tweeters if necessary to achieve the best sound quality.
Maintenance Tips for Your Polk In-Ceiling Speaker
To keep your Polk in-ceiling speakers in top condition, regular maintenance is essential. Here are some tips to help you maintain your speakers:
1. Clean the Grilles and Surrounding Area
Dust and dirt can accumulate on the grilles and surrounding ceiling area. Use a soft cloth or a vacuum with a brush attachment to clean the grilles and keep the area free from dust.
2. Check the Connections
Periodically check the speaker connections to ensure they are secure and free from corrosion. Loose or corroded connections can affect sound quality and performance.
3. Inspect for Damage
Inspect the speakers for any signs of damage, such as cracks or tears in the speaker cones or grilles. Address any issues promptly to prevent further damage and maintain sound quality.
4. Update Your Audio System
Ensure your audio system is up to date and compatible with your speakers. Regularly update firmware and software to take advantage of new features and improvements.
Enhancing Your Audio Experience with Polk In-Ceiling Speaker
Polk in-ceiling speakers can transform your audio experience by providing high-quality sound that blends seamlessly into your living space. Whether you’re setting up a home theater, creating a multi-room audio system, or simply enjoying music in your favorite room, Polk in-ceiling speakers offer the performance and design to meet your needs.
By choosing the right model, following proper installation steps, and maintaining your speakers, you can enjoy exceptional audio quality and a sleek, unobtrusive design for years to come. Explore the range of Polk in-ceiling speakers available and find the perfect fit for your home.