Outdoor ceiling mount motion sensor light are an excellent addition to any property, offering both enhanced security and convenience. These lights not only illuminate your outdoor spaces but also provide automated lighting that activates when motion is detected. In this comprehensive guide, we will explore the key features of outdoor ceiling mount motion sensor lights, their benefits, installation tips, and maintenance advice.
What Are Outdoor Ceiling Mount Motion Sensor Light?
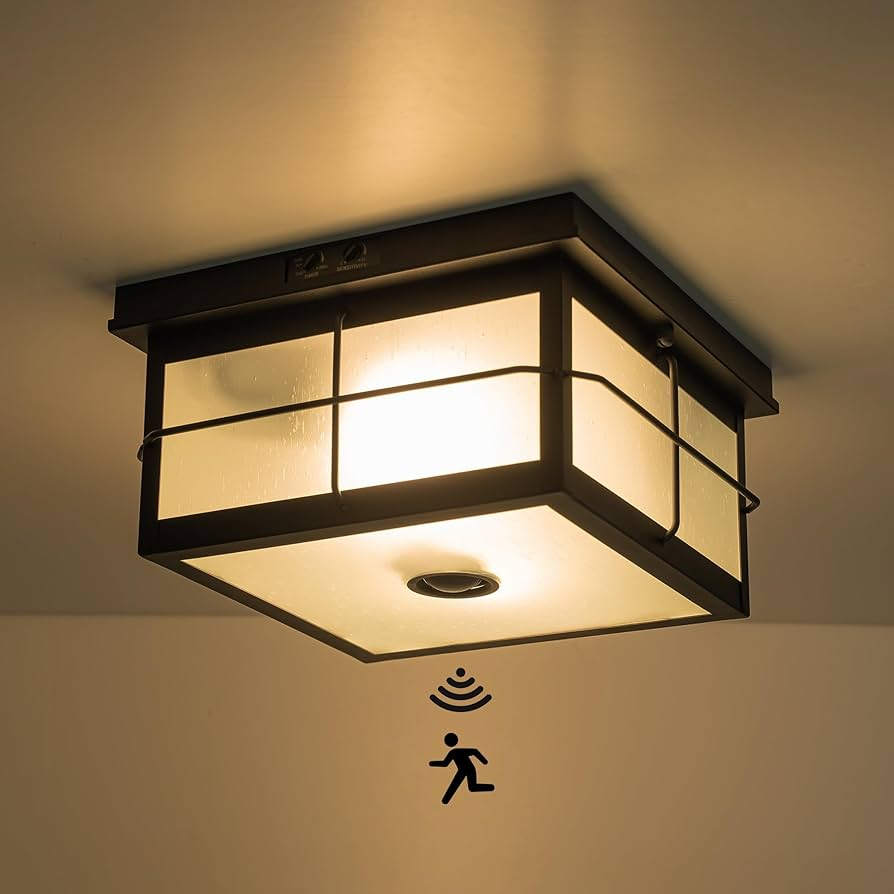
Outdoor ceiling mount motion sensor lights are lighting fixtures designed for exterior use, equipped with motion sensors that detect movement within a certain range. These lights are mounted on the ceiling, typically in areas like porches, patios, and garage ceilings. When motion is detected, the light automatically turns on, providing illumination and deterring potential intruders.
Read too: Bathroom Flooded Through the Ceiling: A Comprehensive Guide
Key Features of Outdoor Ceiling Mount Motion Sensor Light
- Motion Detection Range: Most motion sensor lights have a detection range of 20 to 30 feet, although some high-end models can detect movement up to 50 feet away.
- Adjustable Sensitivity: Many lights offer adjustable sensitivity settings, allowing you to customize the motion detection range to suit your needs.
- Light Output: These lights come in various brightness levels, measured in lumens. You can choose a light with an output that fits your lighting requirements.
- Weather Resistance: Designed for outdoor use, these lights are built to withstand various weather conditions, including rain, snow, and extreme temperatures.
- Energy Efficiency: Many models feature LED technology, which is more energy-efficient and longer-lasting than traditional incandescent bulbs.
Benefits of Outdoor Ceiling Mount Motion Sensor Light
Enhanced Security
One of the primary benefits of outdoor ceiling mount motion sensor lights is their ability to enhance security. By illuminating your outdoor spaces when motion is detected, these lights deter potential intruders and provide added visibility, reducing the risk of break-ins and vandalism.
Convenience and Automation
These lights offer a high level of convenience by automatically turning on when motion is detected. This means you don’t have to fumble for a switch or worry about turning the lights on and off manually. The automated nature of these lights is particularly useful for areas with high traffic, such as driveways or walkways.
Energy Savings
Outdoor ceiling mount motion sensor lights equipped with LED technology are energy-efficient, consuming less power compared to traditional lighting options. The motion sensor feature ensures that the light is only on when needed, further reducing energy consumption and lowering your utility bills.
Improved Visibility
Installing these lights in strategic locations around your property enhances visibility, making it safer to navigate outdoor areas at night. This is particularly important for pathways, stairs, and entryways, where adequate lighting can prevent accidents and injuries.
Customizable Settings
Many motion sensor lights come with adjustable settings, allowing you to control the duration of the light, the sensitivity of the motion sensor, and even the brightness level. This customization ensures that the light meets your specific needs and preferences.
How to Install Outdoor Ceiling Mount Motion Sensor Lights
Preparation
- Select the Location: Choose a location that provides optimal coverage and visibility. Common locations include entryways, garages, and patios. Ensure that the chosen location has access to a power source.
- Gather Tools and Materials: You’ll need tools such as a drill, screwdriver, wire stripper, and electrical tape. Ensure you have all necessary materials, including the light fixture, mounting bracket, and wiring components.
Installation Steps
- Turn Off Power: Before starting the installation, turn off the power to the existing light fixture at the circuit breaker to ensure safety.
- Remove Existing Fixture: If replacing an existing light fixture, carefully remove it and disconnect the wires. Note the wiring configuration for reference.
- Install the Mounting Bracket: Attach the mounting bracket to the ceiling using screws and anchors. Ensure it is securely fastened and level.
- Connect the Wires: Connect the wires from the light fixture to the corresponding wires in the electrical box. Typically, you’ll connect the black (hot) wire to the black wire, the white (neutral) wire to the white wire, and the green or bare (ground) wire to the ground wire. Use wire nuts and electrical tape to secure the connections.
- Attach the Light Fixture: Mount the light fixture onto the mounting bracket and secure it with the provided screws. Ensure the fixture is aligned correctly and tightly fastened.
- Adjust the Settings: Configure the motion sensor settings according to your preferences. This may include adjusting the sensitivity, duration, and brightness levels.
- Turn On Power: Restore power to the light fixture at the circuit breaker and test the motion sensor to ensure it is functioning correctly.
Tips for a Successful Installation
- Follow Manufacturer Instructions: Always refer to the manufacturer’s installation instructions for specific guidance and safety precautions.
- Check for Obstructions: Ensure there are no obstructions in the motion sensor’s field of view that could affect its performance.
- Consider Professional Help: If you’re unsure about electrical work or installation, consider hiring a licensed electrician to ensure proper and safe installation.
Maintenance and Care
Regular Cleaning
To maintain the performance and appearance of your outdoor ceiling mount motion sensor light, clean it regularly. Use a soft cloth or sponge to remove dust, dirt, and debris from the fixture. Avoid using harsh chemicals or abrasive materials that could damage the finish.
Inspect for Damage
Periodically inspect the light fixture and motion sensor for any signs of damage or wear. Check for loose connections, cracked lenses, or malfunctioning sensors. Address any issues promptly to ensure the light continues to function properly.
Addressing Common Issues
- Sensor Not Triggering: If the motion sensor is not triggering the light, check the sensitivity settings and ensure the sensor is not obstructed. Make sure the light is within the sensor’s detection range.
- Light Flickering: Flickering may indicate a loose connection or a problem with the bulb. Check the wiring connections and ensure the bulb is securely installed.
- Power Issues: If the light is not turning on at all, verify that the power is restored and that the circuit breaker is functioning correctly.
Advantages Over Traditional Outdoor Lighting
Greater Control
Outdoor ceiling mount motion sensor lights offer greater control over when and how your outdoor spaces are illuminated. The motion sensor feature allows for automatic lighting based on movement, reducing the need for manual control.
Increased Safety
By providing illumination when motion is detected, these lights enhance safety around your property. Well-lit areas reduce the risk of accidents and make it easier to navigate outdoor spaces at night.
Reduced Energy Costs
The energy-efficient nature of motion sensor lights, combined with their automatic operation, results in lower energy consumption and reduced utility bills compared to traditional outdoor lighting options.
Conclusion
Outdoor ceiling mount motion sensor light are a valuable addition to any property, offering enhanced security, convenience, and energy savings. By understanding their key features, benefits, and installation procedures, you can make an informed decision about incorporating these lights into your outdoor spaces. With proper installation and maintenance, outdoor ceiling mount motion sensor lights will provide reliable performance and contribute to a safer and more enjoyable environment.