LED strip lights have revolutionized home lighting, offering a versatile and energy-efficient solution for illuminating spaces. One of the most popular and stylish applications is using LED strip lights for ceiling flush. This article will guide you through the benefits, installation process, and creative ideas for incorporating LED strip lights into your home, ensuring a beautiful and functional lighting setup.
What Are LED Strip Lights?
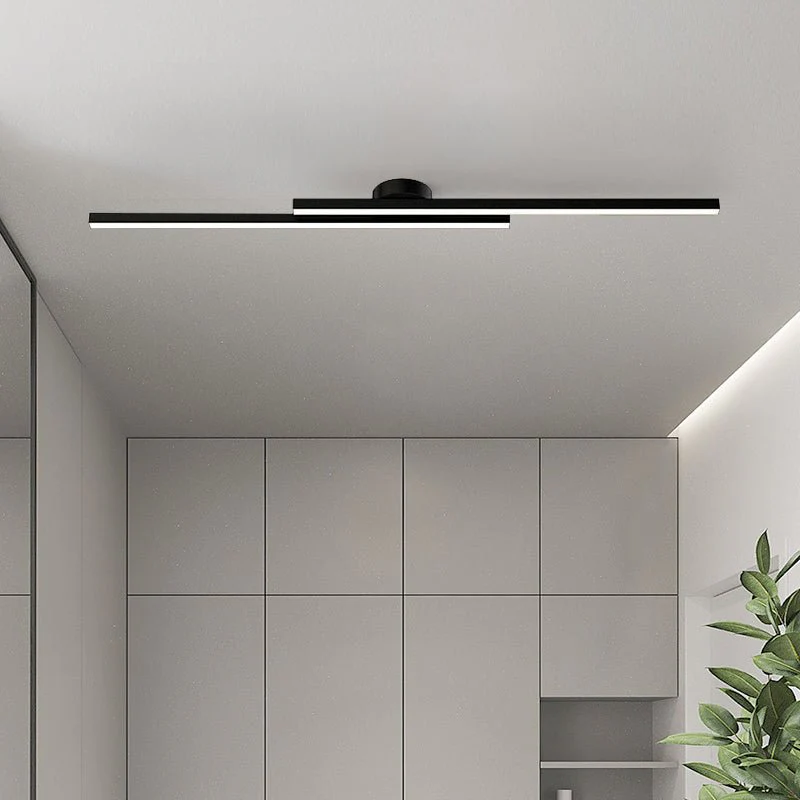
LED strip lights are flexible circuit boards embedded with light-emitting diodes (LEDs). These strips can be cut to length and adhered to various surfaces, making them ideal for a wide range of applications. LED strip lights for ceiling flush provide a modern and sleek lighting option, perfect for enhancing the ambiance and functionality of any room.
Benefits of LED Strip Lights for Ceiling Flush
1. Energy Efficiency
LED strip lights are highly energy-efficient, consuming significantly less power compared to traditional lighting solutions. This not only helps reduce your electricity bills but also contributes to a more sustainable and eco-friendly lifestyle.
2. Versatility
One of the standout features of LED strip lights is their versatility. They can be installed in various locations, including ceilings, walls, under cabinets, and more. LED strip lights for ceiling flush offer a clean and modern look, seamlessly blending with your interior design.
3. Customization
LED strip lights come in different colors, brightness levels, and lengths, allowing you to customize your lighting to suit your preferences and needs. Whether you want a soft, warm glow or a bright, vibrant illumination, LED strip lights can be tailored to achieve the desired effect.
4. Easy Installation
Installing LED strip lights for ceiling flush is relatively simple and does not require professional expertise. With basic tools and some patience, you can achieve a professional-looking installation that enhances your home’s lighting.
5. Long Lifespan
LED strip lights have a long lifespan, often lasting up to 50,000 hours or more. This means you won’t have to worry about frequent replacements, making them a cost-effective lighting solution in the long run.
How to Install LED Strip Lights for Ceiling Flush
1. Plan Your Layout
Before starting the installation, plan the layout of your LED strip lights. Measure the length of the area where you intend to install the lights and determine the number of strips needed. Ensure you have a power source nearby and consider any obstacles or corners that may require additional connectors or accessories.
2. Gather Your Tools and Materials
For the installation, you will need the following tools and materials:
- LED strip lights
- Power supply and adapter
- Adhesive backing or mounting clips
- Scissors or a cutting tool
- Electrical connectors or soldering kit (if necessary)
- Measuring tape
- Cleaning supplies (for preparing the surface)
3. Prepare the Surface
Clean the surface where you plan to install the LED strip lights. Ensure it is free of dust, dirt, and grease to ensure proper adhesion. If necessary, use rubbing alcohol or a mild cleaning solution to prepare the area.
4. Cut and Connect the LED Strips
If your LED strip lights need to be cut to fit the desired length, do so carefully following the manufacturer’s guidelines. Most LED strips have designated cutting points marked on the circuit board. Use electrical connectors or soldering to join the strips if you need to navigate corners or obstacles.
5. Attach the LED Strips
Peel off the adhesive backing on the LED strip lights and carefully press them into place along the planned layout. Alternatively, you can use mounting clips for additional support. Ensure the strips are securely attached and lie flat against the surface.
6. Connect to Power
Connect the LED strip lights to the power supply and adapter. Follow the manufacturer’s instructions for wiring and connection to avoid any electrical issues. Once connected, plug in the power supply and test the lights to ensure they are working correctly.
Read too: Discovering the Charm of Nautical Outdoor Ceiling Fans for Your Coastal Retreat: Sail into Style
7. Final Adjustments
Make any necessary adjustments to the positioning of the LED strip lights to achieve the desired effect. Ensure the lights are evenly spaced and securely attached. You can also use a dimmer switch or remote control for added convenience and customization.
Creative Ideas for Using LED Strip Lights for Ceiling Flush
1. Accent Lighting
Use LED strip lights to create accent lighting that highlights architectural features, artwork, or decorative elements in your home. This can add depth and dimension to your space, making it more visually appealing.
2. Ambient Lighting
LED strip lights can be used to create a soft and inviting ambiance in any room. Install them around the perimeter of your ceiling for a gentle, diffused glow that enhances the overall atmosphere.
3. Task Lighting
For areas where you need focused lighting, such as a kitchen or workspace, LED strip lights can provide excellent task lighting. Install them under cabinets or along shelves to illuminate your work surface and improve visibility.
4. Cove Lighting
Cove lighting is a popular application for LED strip lights, providing indirect lighting that enhances the architectural features of your space. Install the lights in a recessed area or along a cove to create a sophisticated and elegant look.
5. Backlighting
Create a dramatic effect by using LED strip lights as backlighting for TVs, mirrors, or headboards. This not only adds a stylish touch but also reduces eye strain by providing a balanced light source.
Maintenance Tips for LED Strip Lights
1. Regular Cleaning
To maintain the brightness and efficiency of your LED strip lights, clean them regularly. Dust and debris can accumulate on the surface, reducing the light output. Use a soft cloth or a gentle cleaning solution to wipe down the strips.
2. Check Connections
Periodically check the connections and wiring of your LED strip lights to ensure they are secure and functioning correctly. Loose connections can cause flickering or uneven lighting.
3. Replace Damaged Sections
If any section of your LED strip lights becomes damaged or stops working, replace it promptly to maintain the overall appearance and functionality of your lighting setup. Most LED strips can be easily cut and replaced as needed.
4. Avoid Overheating
Ensure your LED strip lights have adequate ventilation to prevent overheating. Overheating can reduce the lifespan of the LEDs and affect their performance. Avoid placing the strips in enclosed or poorly ventilated areas.
Conclusion
LED strip lights for ceiling flush offer a stylish, versatile, and energy-efficient lighting solution for your home. With their easy installation, customization options, and long lifespan, they are an excellent choice for enhancing the ambiance and functionality of any space. By following the installation and maintenance tips provided in this article, you can enjoy the benefits of LED strip lights for years to come.