Looking to take your home audio system to the next level? Dive into our comprehensive guide on the benefits and installation of an in ceiling speaker back box. Discover how this essential accessory can enhance sound quality, protect your speakers, and optimize your listening experience.
Understanding the Importance of an In Ceiling Speaker Back Box
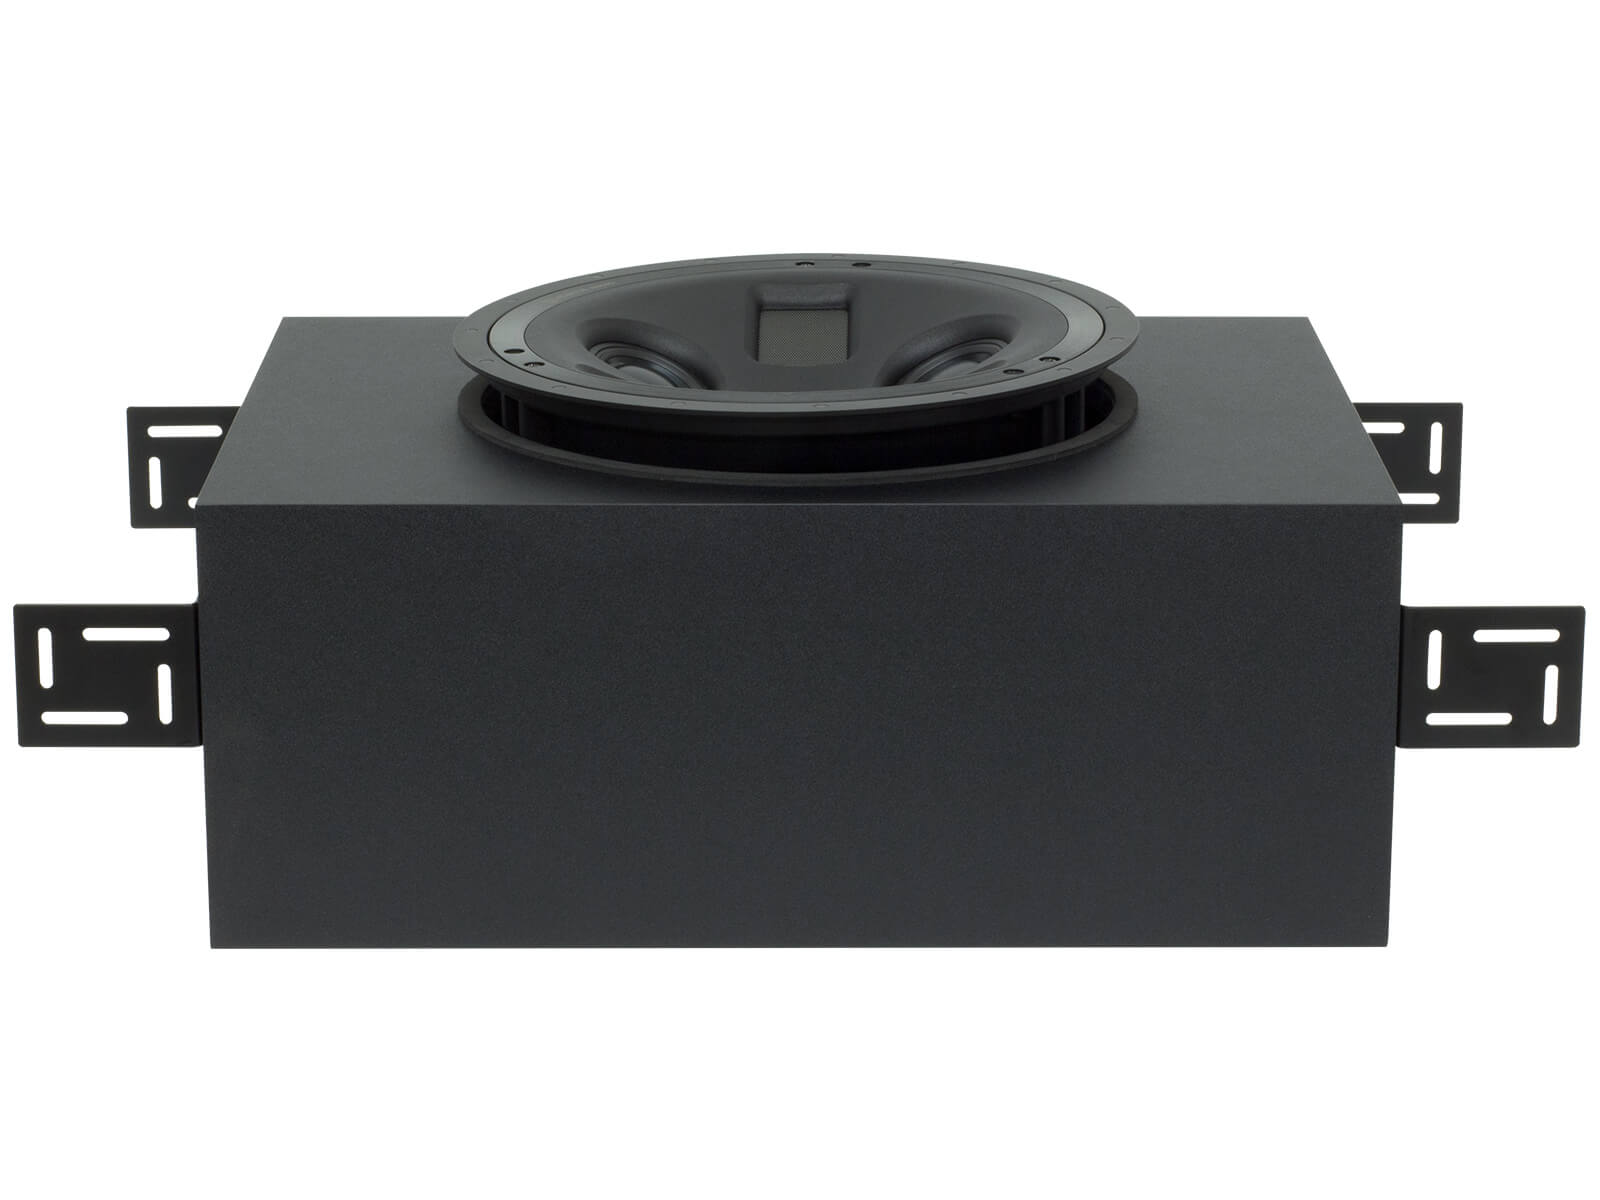
An in ceiling speaker back box, also known as an enclosure or housing, is a protective casing designed to be installed behind in-ceiling speakers. While often overlooked, this accessory plays a crucial role in improving sound quality and ensuring the longevity of your speakers.
Benefits of Using an In Ceiling Speaker Back Box
- Improved Sound Performance: By providing a sealed enclosure around the speaker, a back box helps reduce sound leakage and resonance, resulting in clearer and more accurate audio reproduction.
- Enhanced Bass Response: The enclosure of a back box helps control bass frequencies, preventing them from dissipating into the ceiling cavity and resulting in tighter and more impactful bass.
- Protection Against Moisture and Debris: In ceiling speaker back boxes provide a barrier against moisture, dust, and debris, protecting the speaker components from damage and extending their lifespan.
- Noise Isolation: By isolating the speaker from adjacent rooms or floors, a back box helps minimize sound transfer between spaces, allowing you to enjoy your music or movies without disturbing others.
Installation Process of an In Ceiling Speaker Back Box
- Choose the Right Size: Select a back box that matches the size and shape of your in-ceiling speakers to ensure a proper fit and optimal performance.
- Locate the Installation Position: Determine the ideal location for installing the back box behind the ceiling speakers, taking into account factors such as structural obstructions and proximity to other components.
- Cut an Opening: Use a drywall saw or hole saw to cut an opening in the ceiling large enough to accommodate the back box.
- Secure the Back Box: Position the back box in the opening and secure it to the ceiling joists or rafters using screws or brackets.
- Seal the Edges: Use caulk or foam sealant to seal any gaps between the back box and the surrounding ceiling, ensuring an airtight seal.
Tips for Maximizing the Performance of an In Ceiling Speaker Back Box
- Use Insulation: Install insulation inside the back box to further dampen sound and improve thermal insulation.
- Consider Retrofitting: If your ceiling speakers are already installed, consider retrofitting them with back boxes to enhance their performance.
- Regular Maintenance: Inspect the back box periodically for signs of damage or deterioration and replace it if necessary to maintain optimal sound quality.
Conclusion
An in ceiling speaker back box is a simple yet effective accessory that can significantly enhance the performance of your in-ceiling speakers. By reducing sound leakage, controlling bass response, and protecting the speakers from moisture and debris, a back box ensures that you enjoy crisp, clear audio in every corner of your home.
Now that you’re familiar with the benefits and installation process of an in ceiling speaker back box, why not take the next step towards optimizing your home audio system?