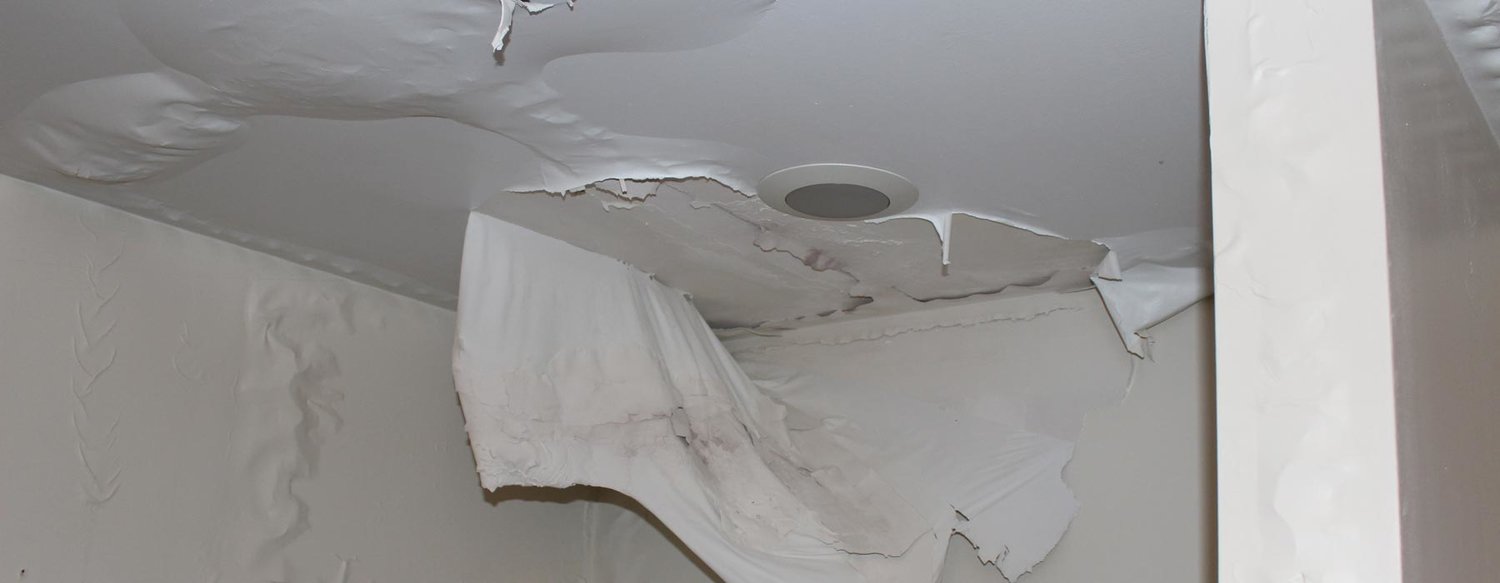
Discovering a water leak in your ceiling can be a distressing experience. Whether it’s caused by a burst pipe, a leaking roof, or other sources, addressing the issue promptly is crucial to prevent further damage and mold growth. In this article, we’ll explore how to dry a water leak in your ceiling effectively, so you can restore your home to its safe and comfortable state.

The First Steps
Upon discovering a water leak in your ceiling, it’s essential to take immediate action to minimize damage and prevent potential hazards.
Identify and Address the Source
- Shut Off the Water Supply:
- If the leak is caused by a plumbing issue, turn off the water supply to the affected area or the entire house to prevent further water from entering the ceiling.
- Inspect the Roof:
- If the leak is due to a damaged roof, assess the roof’s condition to determine the cause of the leak. Missing shingles, damaged flashing, or clogged gutters are common culprits.
- Check for Damaged Pipes:
- Inspect the plumbing system to identify damaged pipes, connections, or fixtures that may be causing the leak.
Safety Precautions
Before you start drying the water leak, it’s crucial to ensure safety:
- Turn Off Electricity:
- To avoid electrical hazards, turn off the power to the affected area, especially if there are light fixtures or electrical outlets in the vicinity of the leak.
- Wear Protective Gear:
- Put on gloves, safety goggles, and a mask to protect yourself from potential contaminants in the water.
Drying the Ceiling
To dry a water leak in your ceiling, follow these steps:
- Remove Excess Water:
- Use a bucket, towels, or a wet/dry vacuum to remove as much standing water as possible from the affected area.
- Create Ventilation:
- Open windows and doors to promote air circulation, aiding in the drying process.
- Use Dehumidifiers:
- Place dehumidifiers in the room to extract excess moisture from the air.
- Fans and Air Movers:
- Position fans and air movers strategically to direct air towards the wet area, expediting the drying process.
- Remove Wet Materials:
- If the ceiling materials are extensively damaged, such as sagging drywall or insulation, it may be necessary to remove and replace them.
Monitor for Mold
Even after drying the ceiling, it’s essential to monitor for any signs of mold growth, as it can develop quickly in damp conditions. If you notice any mold or mildew, it’s crucial to address it promptly.
Preventative Measures
To prevent future water leaks in your ceiling, consider these steps:
- Regular Maintenance:
- Schedule routine inspections of your roof, plumbing, and ceiling to catch potential issues before they become major problems.
- Seal Leaks and Cracks:
- Seal any gaps, leaks, or cracks in your roof, walls, or plumbing to prevent water intrusion.
- Insulate Pipes:
- Insulate pipes to prevent freezing in cold weather, which can lead to pipe bursts and leaks.
Conclusion
Drying a water leak in your ceiling is a process that requires immediate attention and the right approach to prevent further damage and mold growth. By taking quick and effective action, you can protect your home and ensure that it remains a safe and comfortable space for you and your family. Regular maintenance and preventive measures are key to reducing the risk of future ceiling leaks.