
Recessed lighting is a popular choice for modern interiors due to its sleek, unobtrusive design and versatile functionality. When it comes to installing recessed lights in a drop ceiling, there are specific considerations and techniques to ensure a successful installation. In this comprehensive guide, we will explore everything you need to know about recessed lights for drop ceilings, including installation tips, design ideas, and common pitfalls to avoid.
What Are Recessed Lights?
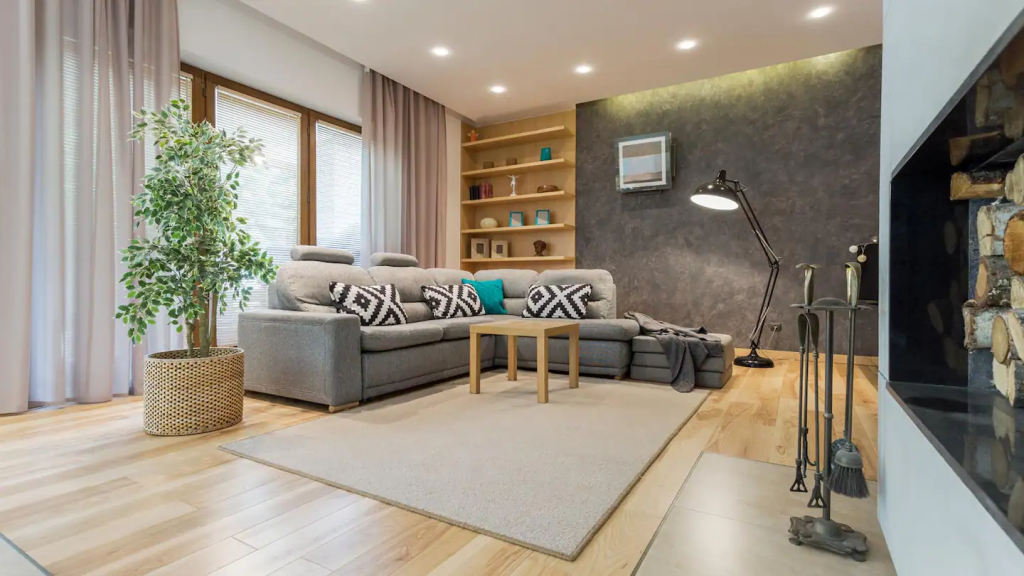
Recessed lights, also known as can lights or downlights, are fixtures that are installed into a hollow opening in the ceiling. Unlike traditional ceiling lights, recessed lights are flush with the ceiling, creating a clean and streamlined look. They can be used for general lighting, accent lighting, or task lighting, depending on the type of bulb and the placement of the fixtures.
Why Choose Recessed Lights for Drop Ceilings?
Drop ceilings, also referred to as suspended ceilings, consist of a grid system with ceiling tiles that hang below the main ceiling structure. This type of ceiling is common in commercial spaces and basements due to its ease of installation and accessibility to wiring and pipes. Installing recessed lights in a drop ceiling can offer several benefits:
Aesthetic Appeal
Recessed lights can provide a sleek and modern look to any room. By being installed within the drop ceiling tiles, they create a minimalistic design that doesn’t detract from other elements of the room.
Space Efficiency
In rooms with low ceilings or where headroom is a concern, recessed lights can save space compared to hanging fixtures or chandeliers. They are also ideal for rooms where you want to avoid obstruction or create an open feel.
Read too: Bathroom Flooded Through the Ceiling: A Comprehensive Guide
Versatility
Recessed lights are versatile and can be used in various settings, including residential, commercial, and office spaces. They are available in different styles, such as adjustable, wall-wash, and gimbal, allowing you to tailor the lighting to your specific needs.
Types of Recessed Lights
Understanding the different types of recessed lights can help you make an informed decision about which fixtures to choose for your drop ceiling:
1. Fixed Recessed Lights
Fixed recessed lights provide a steady beam of light and are ideal for general illumination. They are commonly used in living rooms, kitchens, and offices.
2. Adjustable Recessed Lights
Also known as swivel or gimbal lights, adjustable recessed lights can be tilted or rotated to direct the light where it’s needed. They are perfect for highlighting artwork or architectural features.
3. Wall-Wash Recessed Lights
Wall-wash recessed lights are designed to cast light evenly across a wall, creating a soft and diffused glow. They are commonly used in galleries and spaces where you want to highlight a specific area or texture.
4. Baffle and Trim Options
Recessed lights come with various baffle and trim options, which affect the distribution and quality of light. Baffles help reduce glare and can be used to create a more focused beam of light.
How to Install Recessed Lights in a Drop Ceiling
Installing recessed lights in a drop ceiling requires careful planning and execution. Here is a step-by-step guide to help you through the process:
1: Plan Your Layout
Before installation, plan the layout of your recessed lights. Consider the following factors:
- Lighting Needs: Determine the purpose of the lighting (general, task, accent) and the number of fixtures needed.
- Spacing: Measure the distance between fixtures to ensure even light distribution. Typically, fixtures are spaced 4 to 6 feet apart.
- Power Source: Identify the nearest power source or junction box for wiring.
2: Select the Right Fixtures
Choose recessed light fixtures that are compatible with drop ceilings. Look for models specifically designed for suspended ceilings, as they will come with clips or mounting brackets to secure them in place.
3: Prepare the Ceiling Tiles
- Cut the Holes: Use a template or a hole saw to cut openings in the ceiling tiles where the recessed lights will be installed. Ensure the holes are slightly smaller than the fixture’s outer diameter for a snug fit.
- Install Mounting Clips: If your fixtures come with mounting clips, attach them to the ceiling grid before inserting the light fixtures. These clips will hold the fixtures securely in place.
4: Wiring the Fixtures
- Turn Off Power: Always turn off the power at the circuit breaker before working on electrical installations.
- Connect Wires: Follow the manufacturer’s instructions to connect the wires from the light fixtures to the existing wiring in the ceiling. Typically, this involves connecting the hot (black), neutral (white), and ground (green or bare) wires.
- Secure Connections: Use wire nuts or other connectors to secure the wire connections. Ensure there are no exposed wires and that all connections are tight.
5: Install the Fixtures
- Insert the Fixtures: Gently push the recessed light fixtures into the holes in the ceiling tiles. Ensure that they fit snugly and are securely mounted.
- Adjust the Angle: If you are using adjustable fixtures, set the desired angle or direction of the light beam.
6: Test the Lights
Once the fixtures are installed and wired, turn the power back on and test the lights to ensure they are functioning correctly. Check for any flickering or issues with light output.
Design Tips for Recessed Lights in Drop Ceilings
Designing with recessed lights in a drop ceiling involves more than just installation. Here are some design tips to enhance the functionality and aesthetics of your lighting:
1. Layered Lighting
Combine recessed lights with other types of lighting, such as pendant lights or wall sconces, to create a layered lighting effect. This approach adds depth and dimension to the room.
2. Dimmer Switches
Consider installing dimmer switches to control the brightness of your recessed lights. This allows you to adjust the lighting level based on different activities and moods.
3. Color Temperature
Choose the right color temperature for your recessed lights. Cooler temperatures (4000K to 5000K) are ideal for workspaces and kitchens, while warmer temperatures (2700K to 3000K) create a cozy and inviting atmosphere for living areas.
4. Focus on Zones
Use recessed lights to highlight specific zones or areas in the room. For example, install them above a kitchen island, dining table, or reading nook to provide targeted illumination.
5. Avoid Overlapping
Avoid placing recessed lights too close together or directly above each other. This can create excessive shadows and uneven lighting. Ensure proper spacing for a balanced light distribution.
Common Mistakes to Avoid
Here are some common mistakes to avoid when installing recessed lights in a drop ceiling:
1. Incorrect Fixture Size
Using fixtures that are too large or too small for the ceiling tiles can result in an awkward appearance and poor fit. Always choose fixtures that are appropriately sized for your ceiling.
2. Poor Wiring Connections
Improper wiring can lead to electrical issues and potential safety hazards. Ensure that all connections are secure and comply with local electrical codes.
3. Overlooking Heat Dissipation
Recessed lights generate heat, and proper ventilation is essential to prevent overheating. Ensure that the fixtures have adequate space around them for heat dissipation.
4. Inadequate Spacing
Placing fixtures too close together can lead to uneven lighting and shadows. Follow the recommended spacing guidelines for optimal light distribution.
Conclusion
Recessed lights for drop ceilings offer a sleek and efficient lighting solution for various spaces. By understanding the types of fixtures, installation process, and design tips, you can create a well-lit and aesthetically pleasing environment. Whether you’re updating an office, basement, or any other space with a drop ceiling, recessed lights can enhance both functionality and style.